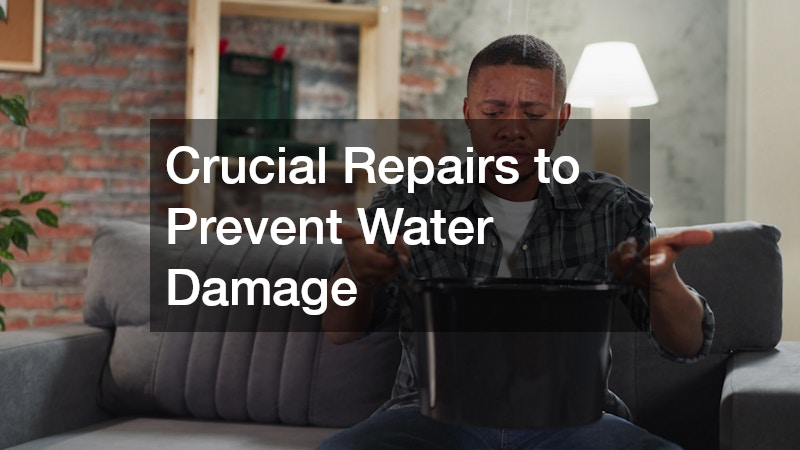

Water is a quiet, patient, and devastating force. While most homeowners dread sudden, dramatic events like natural disasters, the vast majority of residential property issues are caused by slow, unnoticed trickles. A tiny gap in a roof shingle, a pinhole leak behind a drywall sheet, or a neglected drainage line can quietly compromise your home’s structural integrity over months or years. By the time a visible water spot appears on your ceiling or a musty odor rises from your basement, you are often already looking at thousands of dollars in remediation costs.
Shifting your mindset from reactive fixing to proactive prevention is the most effective way to protect your investment. Your home relies on a complex network of barrier systems, drainage pathways, and pressurized plumbing lines to keep moisture exactly where it belongs. When any part of this network is neglected, the entire system becomes vulnerable. This comprehensive guide breaks down the essential maintenance tasks and high-risk zones you need to monitor to keep your living space safe, dry, and structurally sound.
Step-by-Step Attic and Shingle Inspections

Roofing materials degrade over time due to sun exposure, wind, and temperature fluctuations. Regular inspections allow you to catch minor wear before it translates into an active ceiling drip.
- Examine shingles twice a year: Look closely for shingles that are missing, cracked, buckling, or curling at the edges. Pay special attention to the valleys of the roof, where high volumes of water naturally channel.
- Check the flashing and seals: Inspect the metal flashing around chimneys, skylights, plumbing vents, and dormers. Cracked caulk or lifted flashing is a primary entry point for moisture.
- Scan for granule loss: Check your gutters for an accumulation of dark, sandy granules. Significant granule loss means your shingles have lost their UV protection and are nearing the end of their lifespan, signaling that it is time to schedule a professional roof repair.
- Conduct interior attic checks: Grab a flashlight and enter your attic during a heavy rainstorm. Look for damp rafter beams, dark wood discoloration, or insulation that feels compressed and wet.
Optimizing Your Pitch and Downspouts
Gutters are designed to collect the massive volume of water shedding off your roof and route it safely away from your home. If they are clogged or improperly pitched, water will overflow, pouring directly down your exterior walls and pooling at your foundation.
- Clear debris regularly: Clean your gutters at least twice a year, ideally in late spring and late autumn after the leaves have fallen. If your property is surrounded by dense pine trees or oaks, increase this frequency to quarterly.
- Test the slope and seams: Use a garden hose to flush the system after cleaning. Ensure water moves rapidly toward the downspouts without pooling in the middle of a run. If water ponds, the gutter hangers may need to be adjusted to restore the proper downward slope.
- Extend the downspouts: A gutter system is only effective if it deposits water far enough from the structure. Ensure all downspouts extend at least three to five feet away from the foundation wall. For optimal safety, consider routing downspouts into underground bubbler pots or French drain systems that exit far down the grade of your yard. Investing in a professional gutter service to realign sagging tracks or install leaf guards can permanently reduce the risk of basement flooding.
Committing to an Annual Pipe and Valve Audit

Over time, pipes rust, joints weaken under pressure, and materials degrade. A dedicated, systematic walk-through of your home’s plumbing network can reveal early warning signs of failure.
- Inspect under-sink cabinets: Check the supply lines and P-traps beneath kitchen and bathroom sinks. Feel the connections for dampness and look for warped cabinetry floors or peeling laminate, which indicate slow, chronic weeping.
- Upgrade appliance hoses: Examine the flexible water lines feeding your washing machine, refrigerator ice maker, and dishwasher. Standard rubber hoses can become brittle and burst without warning. Replace them with braided stainless steel hoses, which offer vastly superior burst protection.
- Exercise your shut-off valves: Locate the individual shut-off valves under your sinks, behind toilets, and next to major appliances. Turn them off and on once a year to ensure they do not seize up. Most importantly, locate your home’s main water shut-off valve. If a major pipe bursts, knowing how to close this valve instantly can save you from catastrophic ruin, making regular plumbing repair and valve testing a fundamental safety habit.
Deploying Smart Technology for Invisible Breaches
Many plumbing failures start small, presenting as a microscopic pinhole leak or a slow drip behind a wall cavity that standard visual inspections simply cannot catch.
- Install localized smart sensors: Place battery-operated smart water detectors on the floor next to high-risk zones, such as the base of the sump pump, behind the washing machine, and underneath the refrigerator. These small devices connect to your home Wi-Fi network and send an immediate alert to your smartphone the second they detect moisture.
- Monitor your water meter: Turn off every single faucet, appliance, and water-consuming device in your home. Go outside or down to the basement and look at your main water meter. If the low-flow indicator triangle is spinning, or if the numbers advance after 30 minutes of zero water usage, you have an active leak somewhere in your system.
- Utilize professional diagnostics: If your water bill spikes unexpectedly but you cannot find any visible pooling, do not guess. Engaging modern leak detection services can isolate the exact location of a hidden underground or in-wall breach using specialized acoustic sensors and thermal imaging cameras, saving you from tearing up unnecessary drywall.
Managing Condensation and Drainage Lines
Air conditioning systems do not just cool the air; they pull incredible amounts of humidity out of your indoor environment. This moisture condenses onto the indoor evaporator coils and must be safely drained out of the house.
- Flush the condensate drain: The moisture dripping off your AC coils falls into a plastic pan and flows out through a PVC drain line. Over time, algae, mold, and bacteria can grow inside this dark, wet pipe, forming a thick sludge that blocks water flow. Flush a cup of regular white vinegar down the condensate line every spring to keep it clear.
- Inspect the safety overflow pan: Look underneath your indoor AC unit or furnace setup. There should be a secondary emergency drain pan. Ensure this pan is completely dry. If you see water standing in it, your primary drain line is already blocked and requires immediate attention before it overflows onto your ceiling or floorboards.
- Replace air filters on schedule: A choked, dirty air filter restricts airflow across the cooling coils. This can cause the coils to freeze over into a solid block of ice. When the system shuts down, that ice melts rapidly, overwhelming the drainage pan and flooding the surrounding area. Keeping up with routine maintenance for your HVAC systems prevents these sudden, destructive overflow events.
Flushing Sediments and Inspecting Anode Rods
Your water heater holds a massive volume of pressurized, heated water constantly. Because it is under perpetual stress, a structural failure here almost always results in a sudden, catastrophic deluge.
- Flush the tank annually: Over time, dissolved minerals and sediment settle to the bottom of your water heater tank. This sediment layer creates an insulating barrier, forcing the burner or heating elements to work harder, which overheats the metal tank bottom and accelerates structural cracking. Drain several gallons of water from the bottom drain valve each year into a bucket until the water runs completely clear.
- Check the pressure relief valve: This vital safety device releases excess pressure if the tank overheats. Lift the lever briefly to ensure water flows out into the discharge pipe, then let it snap shut. If it continues to drip or fails to release water, it must be replaced immediately.
- Monitor the sacrificial anode rod: This unsung hero is a metal rod suspended inside the tank that attracts corrosive elements in the water, sacrificing itself so the steel tank does not rust. Unscrew the rod every three years; if it is heavily degraded or down to its wire core, replace it. Consistent attention to your water heater services can easily double the lifespan of your appliance and protect your utility room from a sudden burst.
Managing Underground Tanks and Drain Fields
For homes not connected to a municipal sewer system, an underground waste management system is the final line of defense against highly destructive, unhygienic water backups.
- Adhere to a strict pumping schedule: Depending on the size of your household, your underground tank needs to be professionally inspected and pumped out every three to five years. Allowing solids to accumulate fills the tank capacity, forcing sludge out into the delicate absorption field where it clogs the soil and ruins the system.
- Protect the absorption zone: Never park cars, drive heavy machinery, or build structures over your underground drain field. The weight compacts the soil and breaks the perforated distribution pipes. Additionally, keep deep-rooted trees and shrubs far away, as their roots will aggressively seek out the nutrient-rich water inside the pipes, breaking them open and creating a massive septic back up that forces raw wastewater back up into your home’s lowest drains.
- Watch what you flush: Treat your toilets with respect. Avoid discarding baby wipes, paper towels, facial tissues, or hygiene products into the system, even if the packaging claims they are flushable. These items do not break down rapidly like toilet paper and will cause immediate plumbing blockages.
Preventing Kitchen Sludge and Pipe Blockages
Kitchen drains are highly susceptible to a unique type of obstruction caused by cooking byproducts, which can eventually choke main sewer lines and cause severe backflows.
- Keep fats out of the drain: Never pour liquid cooking oils, bacon grease, or buttery sauces down the kitchen sink. While they may be liquid when warm, they cool down rapidly inside your cold underground pipes, solidifying into a rock-hard layer of sludge that catches other debris. Pour grease into an old can, let it harden, and throw it in the trash.
- Scrape plates thoroughly: Use fine mesh strainers over your sink drains to catch small food particles. Even if you have a powerful garbage disposal, minimizing the amount of solid organic matter entering your plumbing is always the safest practice.
- Maintain dedicated interceptors: If you live on a property or manage a facility that utilizes specialized filtration systems for cooking waste, you must stay on top of regular maintenance. Booking professional grease trap cleaning ensures that heavy fats and solids are skimmed out before they can migrate deeper into your lateral sewer lines, keeping your drainage pathways clear and free-flowing.
Fast Action Plans for Secondary Damage
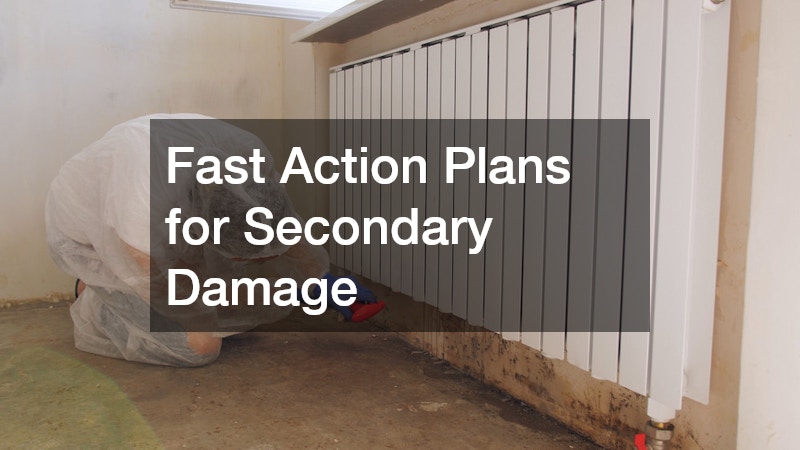
The structural damage caused by standing water is severe, but the secondary problems that arise from lingering dampness can be even worse for both your property value and your physical health.
- Extract and dry immediately: If water enters your living space, locate the source and stop it instantly. Once the leak is contained, use wet-dry vacuums to remove as much standing water as possible from carpets and floors. Open windows, set up heavy-duty floor fans, and run high-capacity dehumidifiers continuously to pull moisture out of the air.
- Assess porous materials: Drywall, insulation, carpet padding, and baseboards act like sponges. If these items remain soaked for more than 48 hours, they lose their structural integrity and become a breeding ground for microorganisms. Often, compromised drywall and carpeting must be cut out and discarded to ensure the wood framing behind them can dry completely.
- Know when to call professionals: If you experience a large-scale indoor flood involving contaminated water or moisture that has seeped deep beneath your subfloors, DIY efforts are rarely enough. Hidden pockets of moisture will remain trapped behind baseboards and inside wall cavities, creating long-term structural rot. In these scenarios, you need to bring in experienced crews who specialize in water damage cleanup. These professionals utilize industrial air movers and specialized infrared moisture meters to guarantee your home is completely dry. Leaving even a small amount of dampness enclosed within your walls will eventually require assistance from mold experts to safely remove hazardous spores and restore your indoor air quality.
Preventing water damage is not about managing a single, overwhelming project; it is about building small, consistent habits over time. Taking a few hours each season to clean out your gutters, inspect your appliance hoses, check your water heater, and monitor your roof can save you from the massive emotional and financial strain of a home flood. Your home is likely your largest financial investment. By staying vigilant, utilizing smart detection tools, and addressing minor leaks the moment they appear, you can ensure your living space remains a safe, dry, and secure sanctuary for many years to come.