

Every changing season brings a distinct atmosphere to a home, from crisp autumn afternoons to bright summer sunshine. Yet along with those shifting weather patterns comes relentless physical pressure on your home’s structure, systems, and perimeter. Temperature swings force materials to expand and contract, driven rain searches for the slightest gap in cladding, and winter freezes turn standing water into a powerful wedge.
Without a proactive upkeep routine, minor wear can quickly transform into expensive structural failure or sudden mid-season utility breakdowns. Taking a comprehensive approach to seasonal transitions allows you to stay ahead of these issues rather than reacting to emergencies. By methodically addressing your property from the interior living spaces down to the surrounding land, you safeguard your financial investment while ensuring consistent indoor safety and comfort throughout the year.
Managing Indoor Climate Systems for Year-Round Comfort

Inspecting Air Filters and Clearing Vents for Peak Airflow
Indoor airflow serves as the lungs of your home, and maintaining clear pathways is essential for proper temperature regulation. Over a few months, dust, pet dander, and airborne debris settle into filter media, restricting the volume of air circulating through your ductwork. When airflow slows, systems must work significantly harder to push conditioned air into living spaces, raising monthly utility bills and placing unnecessary mechanical stress on internal blowers.
Checking and replacing filters every sixty to ninety days is one of the simplest ways to maintain peak system efficiency. Beyond the main intake, walk through every room to confirm that supply registers and return grills are unobstructed by heavy drapes, area rugs, or furniture placement. Blocked vents disrupt the pressure balance across your duct system, leading to hot or cold spots in upstairs bedrooms or back hallways.
Tuning Up Heating and Cooling Equipment Before Peak Seasons
Scheduling professional inspections ahead of seasonal shifts ensures that your equipment operates safely when weather extremes arrive. During a spring checkup, a technician inspects refrigerant levels, cleans dirty condenser coils, and verifies that condensate drain lines are flowing freely. This preventive care reduces the risk of sudden cooling loss during midsummer heatwaves, ensuring that timely ac repair issues are addressed before minor electrical or mechanical glitches trigger complete system failure.
In late summer or early autumn, the focus pivots to heating hardware. Technicians check heat exchangers for dangerous cracks, test ignition assemblies, and calibrate room thermostats. Partnering with qualified professionals for routine HVAC maintenance extends the operating lifespan of your units and preserves overall efficiency season after season.
Seasonal System Maintenance Schedule:
- Early Spring: Clean outdoor condenser units, inspect coolant lines, and clear condensate drain lines.
- Late Spring: Replace interior return filters and balance room registers for optimal summer cooling.
- Early Autumn: Test heating ignition mechanisms, verify safety cut-offs, and inspect burner assemblies.
- Late Autumn: Calibrate digital thermostats, check duct connections, and replace filters before heavy winter use.
Sealing Ductwork Leaks to Maintain Consistent Room Temperatures
Conditioned air often escapes long before it ever reaches your living spaces due to gaps, unsealed joints, or loose connections in accessible ductwork. Unconditioned spaces like attics, basements, and crawlspaces can draw off a substantial percentage of your home’s total heating and cooling output if the supply lines running through them are compromised.
Inspect visible duct runs for loose tape, fallen insulation, or disconnected branch lines. Applying metallic foil tape along open seams restores airtight integrity, ensuring that air flows directly to designated room registers. Balancing adjustable dampers inside the main trunk lines also allows you to redirect air volume toward lower levels during winter or upper stories during summer, optimizing overall household comfort.
Protecting Water Lines and Heating Infrastructure

The plumbing and hydronic heating systems inside your home operate under continuous fluid pressure, making them particularly vulnerable to rapid drops in ambient temperature. A single frozen pipe can rupture within hours, releasing hundreds of gallons of water into walls and flooring. Preventing this requires a careful combination of insulation, routine venting, and drain monitoring.
Consider a late-fall scenario in an older two-story home. The main floor remains warm and cozy thanks to a central thermostat, but an exposed supply pipe tucked inside an unheated exterior crawlspace quietly approaches the freezing mark. Without proper insulation or thermal wrapping, that isolated line freezes overnight. By morning, the pipe bursts, sending water cascading through the floorboards and causing extensive structural damage before anyone realizes what happened.
Addressing vulnerabilities in exposed spaces requires taking several practical, protective steps before the arrival of sub-freezing weather:
- Wrap exposed copper, PEX, or lead water pipes in unheated crawlspaces, basements, and attached garages using pre-slit foam insulation sleeves or heavy-duty thermal tape.
- Disconnect, drain, and store all outdoor garden hoses from exterior spigots, and close indoor shutoff valves that feed external bibs to prevent water from freezing inside the valve body.
- Locate and label your main master water shutoff valve so that every adult in the house can quickly isolate the primary water supply during an acute pipe crisis.
In homes that rely on closed-loop hydronic systems, air pockets frequently become trapped inside radiator units over months of inactivity. These air pockets prevent hot water from circulating fully, leaving individual rooms chilly despite high thermostat settings. Bleeding each unit with a radiator key releases trapped air, allowing warm water to fill the entire cast-iron or panel radiator body.
While bleeding the radiators, keep an eye on the boiler’s pressure gauge to ensure readings stay within the manufacturer’s recommended operating range. Catching minor pressure drops early allows you to address subtle leaks or valve issues before calling for specialized boiler repair service.
Finally, keep interior utility drains flowing freely to prevent unexpected indoor flooding during heavy seasonal precipitation. Floor drains in basements, mechanical rooms, and laundry spaces accumulate lint, sediment, and floor debris over time, slowing their drainage capacity. Clearing these traps with a drain snake and flushing them with clean water ensures they handle emergency overflows effectively. Testing the float switch on your sump pump by pouring a bucket of water directly into the basin confirms that the pump activates, clears the pit, and shuts off properly before heavy rainfall arrives.
Fortifying the Exterior Envelope and Masonry
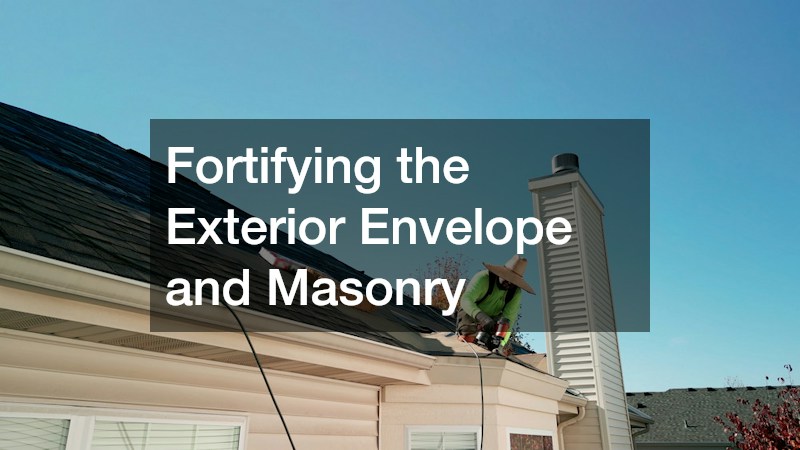
Your home’s exterior envelope acts as the primary shield against ambient moisture, wind, and solar radiation. Over time, continuous exposure to the elements degrades protective materials, opening small pathways for water intrusion. A rigorous exterior inspection each spring and autumn helps identify minor material fatigue before it leads to serious structural decay.
Inspecting Walls and Mortar Joints for Weathering Damage
Brick veneer and solid masonry structures are extraordinarily durable, yet they remain vulnerable to the relentless freeze-thaw cycles of winter. When rainwater penetrates microscopic pores in brickwork or aging mortar, it expands as it turns to ice, flaking away the outer brick face and crumbling the surrounding joints.
Inspecting your home’s outer walls involves looking closely for crumbling mortar, vertical hairline fractures, or spalling brickwork near ground level. Addressing these minor masonry defects early through targeted brick repair stops water from penetrating deeper into wall cavities, where it can rot framing timbers or encourage dangerous mold growth.
Cleaning Gutters and Checking Roof Flashing for Leaks
Roofing systems bear the full brunt of severe seasonal weather. Leaves, twigs, and organic debris quickly collect in gutter troughs, creating dense dams that hold water along the roof’s edge. During colder months, this backed-up water freezes into heavy ice dams, lifting shingles and forcing meltwater beneath the underlayment into your attic.
Cleaning gutters twice a year keeps rainwater moving freely toward downspouts and away from the foundation. While working around the roofline, visually examine the metal flashing installed around chimneys, vent stacks, and skylights. Lifted or corroded flashing is a primary source of hidden roof leaks that often go unnoticed until ceiling stains appear indoors.
Exterior Wall and Roof Inspection Walkthrough:
- Step 1: Walk the perimeter at ground level to scan for spalling bricks, cracking mortar, or deteriorating foundation sealant.
- Step 2: Use binoculars to inspect the roof plane for missing, curled, or damaged asphalt shingles following windstorms.
- Step 3: Clear gutter channels and downspout elbows of packed leaves, checking that downspout extensions discharge water at least five feet from walls.
- Step 4: Examine rubber boots surrounding vent pipes and step-flashing around chimneys for cracks, rust, or failing caulk seams.
Sealing Doors and Window Frames Against Cold Drafts
Window frames and exterior door jambs continuously expand and contract as temperatures fluctuate, causing old caulking to harden, shrink, and pull away from exterior siding. These small perimeter openings allow cold winter drafts to penetrate your home while letting expensive heated or cooled air escape.
Examine the perimeter sealant around all exterior doors and windows, scraping away dried, cracked caulk and applying fresh, flexible exterior silicone or polyurethane sealant. Replacing flattened, torn weatherstripping along door thresholds and operable window sashes creates an airtight barrier that improves indoor comfort and noticeably reduces monthly energy bills.
When extreme weather events like severe hailstorms or fallen tree branches cause sudden exterior damage, documented maintenance logs become invaluable assets. Keeping detailed records and photos of your roof and exterior walls before severe weather hits simplifies the process of securing coverage for needed roofing insurance repairs, ensuring your claim moves forward smoothly without unnecessary delays.
Safeguarding Outdoor Grounds and Drainage Networks
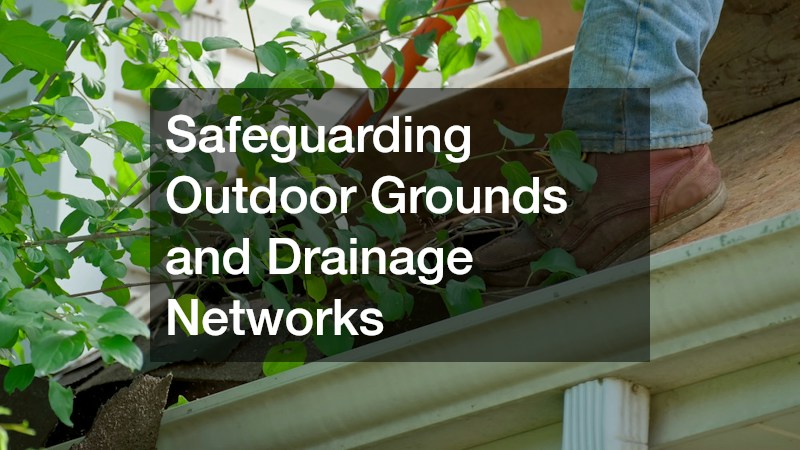
The land surrounding your home plays a crucial role in directing water away from your foundation and protecting underground utilities. Neglecting exterior grounds during seasonal transitions can turn minor soil erosion or frozen irrigation lines into major landscape and structural headaches.
Winterizing Underground Irrigation Lines Before the First Hard Freeze
Subsurface irrigation networks hold residual water in underground pipes, manifold valves, and pop-up spray heads long after the summer watering season ends. When ground temperatures drop below freezing, trapped water expands, shattering plastic pipes, cracking valve bodies, and ruining backflow preventers.
- Turn off the main water supply line dedicated to the irrigation system located inside your basement or utility vault.
- Connect a high-volume air compressor to the blowout port on the main manifold assembly to clear remaining water.
- Open each zone valve individually from the controller, cycling pressurized air through the system until only a fine mist exits the spray heads.
- Insulate the exposed backflow preventer assembly above ground using a fitted thermal blanket or insulated protective cover.
Skipping these winterization steps often leads to broken lines buried deep beneath your lawn. Finding and fixing those hidden breaks in the spring usually requires hiring an experienced sprinkler repair contractor to dig up damaged sections, re-pipe broken manifolds, and restore proper system pressure.
Ensuring Proper Exterior Grading to Divert Runoff Away from Foundations
Soil around a home naturally settles over time, creating low spots near foundation walls where rainwater and melting snow collect. Standing water next to concrete foundations increases hydrostatic pressure, forcing moisture through basement walls and causing structural shifting.
Maintain a consistent slope away from your home, ensuring the ground drops at least six inches over the first six feet from the exterior wall. Fill sunken spots near foundation walls with dense clay-based topsoil rather than porous mulch, and add rigid downspout extensions to carry roof runoff well past the primary backfill zone.
Ground Grading and Drainage Check:
- Slope Assessment: Ensure ground slopes downward away from foundation walls at a minimum rate of 1 inch per foot for 6 feet.
- Low-Spot Mitigation: Fill depressed areas around the perimeter with soil to prevent rainwater from pooling against concrete walls.
- Downspout Placement: Verify downspout conductors discharge runoff onto splash blocks or into underground smooth-wall drainage pipes.
- Utility Line Protection: Inspect ground cover over buried utility corridors to prevent soil erosion from exposing subterranean lines.
When severe grade deficiencies or ongoing landscape erosion cannot be fixed with simple topsoil, heavy equipment may be required to recontour the site. Professional excavation contractors can reshape difficult slopes, dig deep drainage swales, or install heavy-duty exterior French drain networks to keep surface runoff away from your foundation.
Trimming Overhanging Branches to Prevent Storm Impact
Heavy snow, ice accumulation, and high seasonal winds turn weak or dead tree branches into significant hazards for your home. Overhanging limbs can break under the weight of winter snow, crashing through roof decking, tearing away gutters, or pulling down overhead utility lines.
Inspect mature trees around your property in late autumn after leaves have fallen, looking for dead wood, hollow trunks, or branches that hang within ten feet of your roofline. Pruning back these dangerous limbs before winter storms arrive prevents severe structural damage and keeps your property safe year-round.
Securing Lower Levels and Recovering from Seasonal Storms
Basements and lower subterranean levels are inherently prone to water intrusion because they sit below ground level, surrounded by damp soil and natural water tables. Transforming these spaces into functional living areas requires continuous vigilance against rising groundwater, high interior humidity, and sudden storm runoff.
Waterproofing Sub-Grade Living Areas to Block Ground Moisture
Finishing a basement adds valuable living space to a home, but framing walls and laying carpet below grade carries distinct moisture risks. Concrete foundation walls are naturally porous, allowing ground moisture to seep through as water vapor or liquid trickle.
Before framing walls or laying subfloors, inspect raw concrete for damp spots, efflorescence, or active water leaks. Applying masonry waterproofing sealants to interior concrete walls, installing continuous vapor barriers behind stud framing, and maintaining an active perimeter drain system ensure that sub-grade spaces stay dry. Protecting these investments is critical, as a complete basement finishing project represents a substantial financial investment that can be ruined by hidden water intrusion.
Developing an Emergency Response Plan for Sudden Water Intrusions
Despite thorough seasonal preparations, severe weather events can still push drainage systems beyond their capacity. Heavy cloudbursts, melting snowpacks, or sudden power outages during torrential rains can cause water to pool in lower living spaces.
Emergency Action Steps for Indoor Flooding:
- Safety First: Shut off electrical power to affected lower zones at the main breaker panel before stepping into standing water.
- Source Isolation: Locate and close the main water shutoff valve if the intrusion stems from a internal pipe break.
- Equipment Deployment: Activate battery-backup sump pumps or submersible utility pumps to extract standing water rapidly.
- Professional Support: Contact an IICRC-certified restoration specialist to oversee drying, structural dehumidification, and sanitizing.
Acting quickly during a water emergency is essential for preventing structural degradation and widespread mold contamination. Bringing in a certified restoration team ensures that moisture trapped inside wall cavities, subflooring, and insulation is completely dried using industrial air movers and desiccant dehumidifiers.
Maintaining Proper Ventilation to Prevent Mold Growth
Relative humidity in lower living spaces should stay below fifty percent year-round to inhibit mold growth, wood rot, and musty odors. Basements tend to trap stagnant air, allowing moisture from laundry appliances, showers, and soil vapor to accumulate in enclosed rooms.
Position heavy-duty, low-temperature dehumidifiers in central lower areas, running drain hoses directly into floor drains or sump basins to eliminate the need to manually empty water buckets. Leaving interior doors open, elevating furniture off concrete slabs, and running continuous exhaust fans in lower bathrooms maintain steady airflow, keeping subterranean spaces fresh, clean, and healthy through every season.
Implementing a whole-home seasonal prep routine requires time and effort, but the long-term rewards far outweigh the investment. By systematically inspecting and maintaining your home from the roofline down to the subterranean drainage networks, you build a strong defense against seasonal wear and tear.
Protecting indoor climate systems, plumbing networks, exterior masonry, outdoor grading, and lower living areas prevents minor maintenance issues from turning into costly emergency repairs. Taking a proactive approach to caring for your home protects your financial investment, lowers utility expenses, and ensures your property remains safe, comfortable, and dry through every season.